Hatchery Management: The CPU Research Center for Philippine Native Chicken Technique
There are other hatchery management practices that need to be implemented to achieve higher hatchability and hardy chicks. Any contamination within the hatchery could lead to severe infections in hatchlings, thereby affecting overall survival and growth rates.
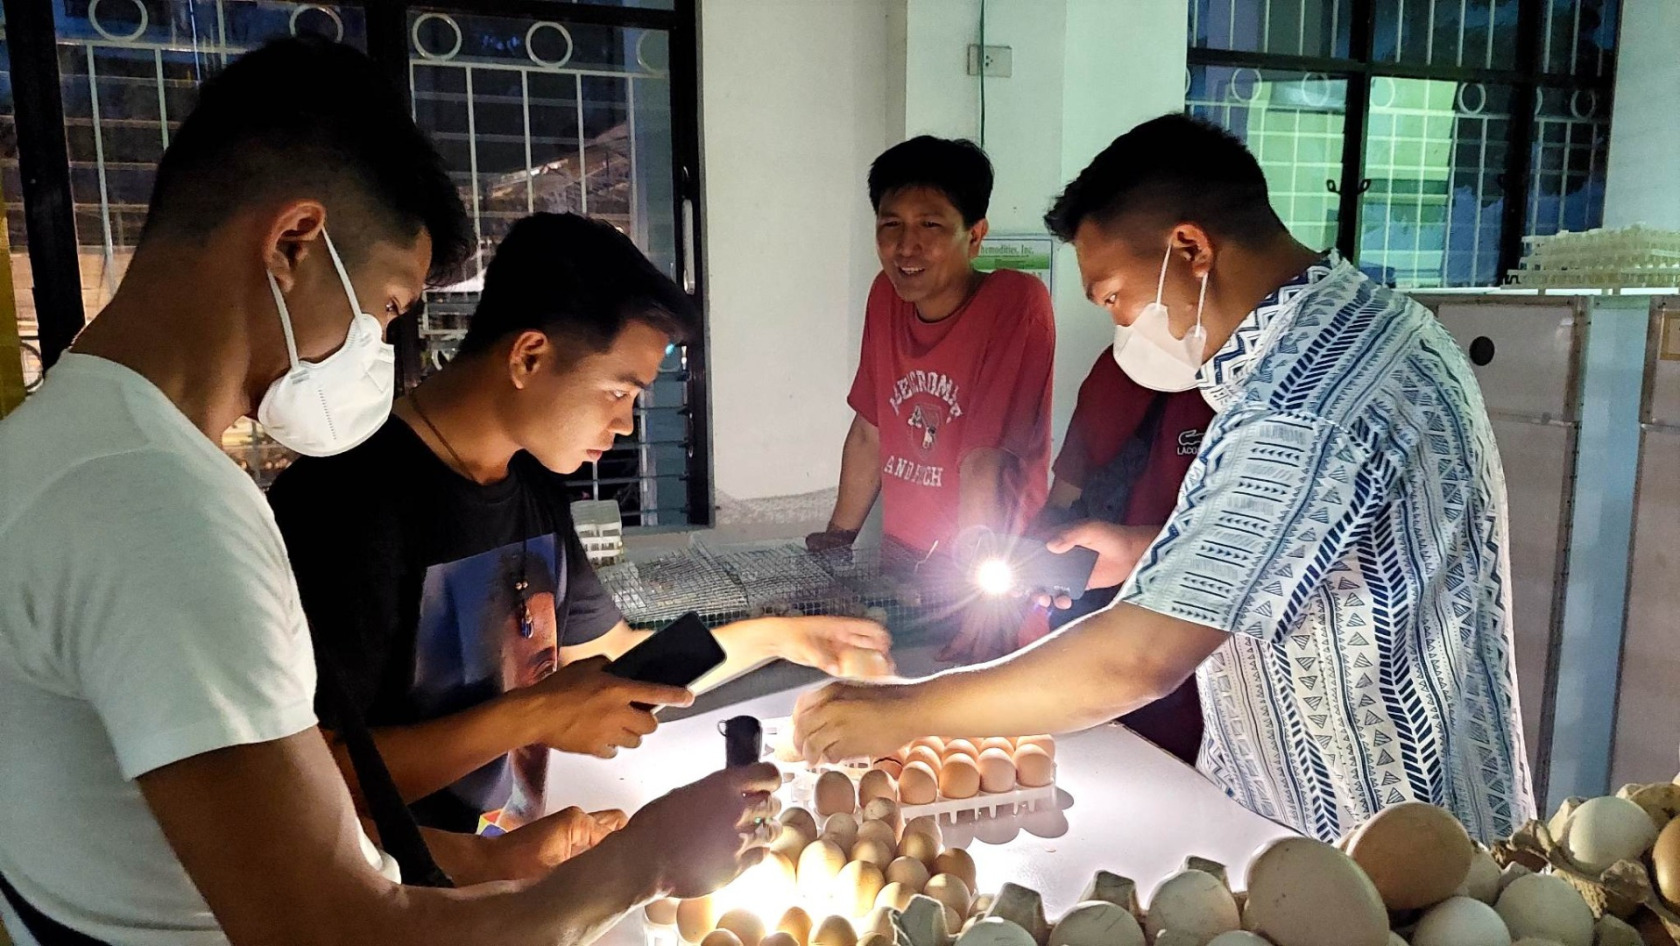
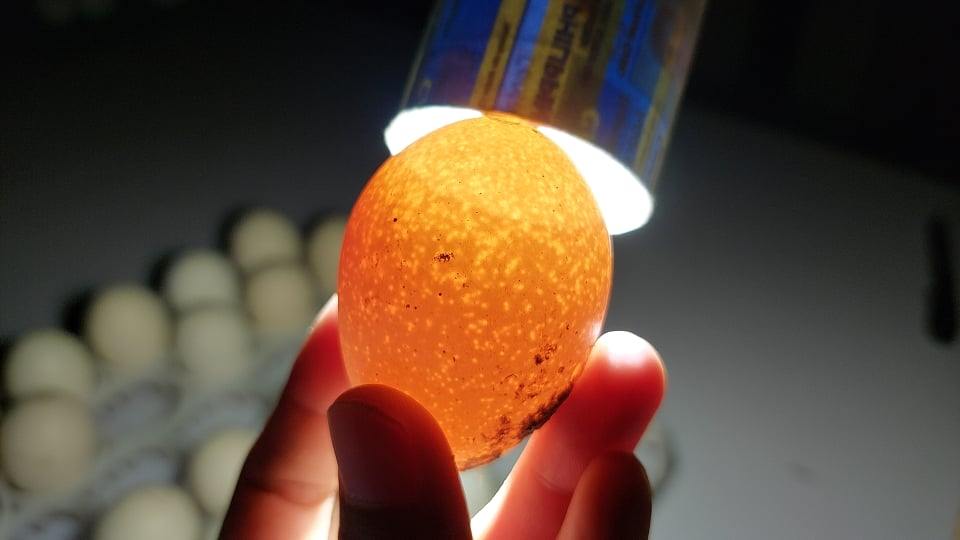
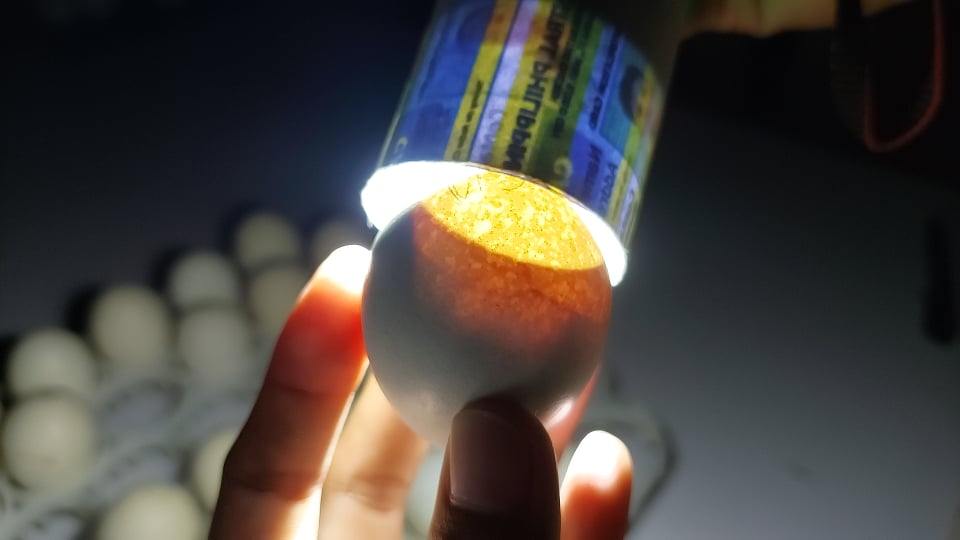
3. Candling: The Quality Control Check. To save energy and space, the Research Center Personnel perform candling (shining a bright light through the eggs) during:
- Day 18. This undertaking is to identify the infertile and dead embryos and remove them from the incubation. It was done on this day before transferring the fertile eggs to the hatcher for hatching. This is to confirm embryo development and assess the size of the air cell within the egg.
4. Hatching and Post-hatch Care. On Day 18, eggs are moved from the setter to the hatching trays.
-
The Hatch. Once the chicks "pip" (break the shell), they are left in the hatcher until they are completely dry and "fluffed up."
-
Hardening. Chicks remain in the hatcher until Day 22 of incubation to gain strength.
-
Record Keeping. The Research Center emphasizes recording the hatchability percentage.
5. Biosecurity in the Hatchery. The hatchery is a "clean zone." Access is restricted to prevent the introduction of pathogens.
-
Fumigation. Incubators (setter and hatcher) are thoroughly disinfected and fumigated between every batch.
-
Waste Management. Eggshells and unhatched eggs are immediately disposed of to prevent bacteria like Salmonella from proliferating in the area.
Understanding basic hatchery management can help you improve the hatchability of incubated eggs and the hardiness of hatchlings, thereby improving project efficiency.